Salt | Responsive Multi-Purpose WordPress Theme
SALT is an awesome WordPress Theme which has 20+ unique demo home pages. It is a versatile, high-performance theme comprising of an extensive array of styled elements to fulfill all your website requirements. Create an attractive and user friendly website in a snap. The bundled features will make a clean and modern design for your website. The portfolio range is vast and diversified to cater to all set of customers and meet the requirements of the clients.
Getting started
Requirements
- Minimal PHP version 5.4
- WordPress 4.5 and newer.
Minimal PHP settings:
memory_limit = 128MB

max_execution_time = 120

upload_max_filesize = 32M

post_max_size = 32M
Recommended PHP settings:
memory_limit = 256MB

max_execution_time = 300

upload_max_filesize = 32M

post_max_size = 32M
Preparing WordPress
If you already have WordPress installed on your server just skip to the next section. If you haven't yet installed WordPress on your server here you will find a complete guide on this topic. Just follow the steps and you will be ready in a blink of an eye with your shiny new WordPress website.
Using permalinks
Permalinks are the permanent URLs of your blog posts or pages on your WordPress site.
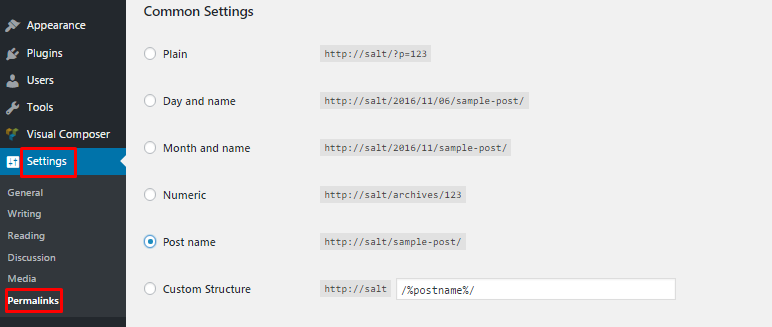
- Go to Settings > Permalinks.
- Select one of the available formats:
- Default: http://www.yourwebsite.com/?p=123
- Day and name: http://www.yourwebsite.com/2008/03/31/sample-post/
- Month and name: http://www.yourwebsite.com/2008/03/sample-post/
- Numeric: http://www.yourwebsite.com/archives/123
- Post name: http://www.yourwebsite.com/sample-post
- Custom structure in the box enter the custom structure you want to use. For example: /archives/%year%/%monthnum%/%day%/%postname%/
We recommend to use "Post name" structure. However you can use any structure you like.
Theme installation
First Steps
Before you can start playing around with your new theme, let's first check what the theme package includes. After you have downloaded the .zip file from ThemeForest and unzipped it, its should reveal the following folders:
- Demo Slider Revolution
- Documentation
- Saltwp
- Salt-child
Upload the Theme
You have two options how to upload themes in Wordpress and I will cover them both now. You can either upload all theme files via FTP or you can use Wordpress Theme Uploader. It really doesn't matter at all which one of these techniques you want to use, so choose the one which seems to make more sense to you.
FTP:
So I assume you do know how to use your FTP client of choice (like Filezilla), but if you don't, then try Theme Uploader method.
-
First login with your FTP account and navigate to your Wordpress installation directory and in there go to
wp-content themesfolder. -
Now put FTP client to side for a while and head back to
Salt Themefolder, which you just unzipped saltwp.zip. - There should be only one folder, called saltwp. To make sure you are in the right place, check that folder contains files like index.php, functions.php and style.css.
-
If everything looks good you are ready to upload this salt folder to
wp-content themes, which you found earlier.
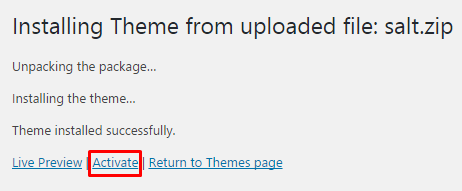
WordPress:
Navigate to Appearance -> Themes -> Add New -> Upload Theme. Select saltwp.zip file. Press the Install Now button to upload and install the theme.
Activate the Theme
After theme is successfully uploaded, head on to Appearance -> Themes, in Wordpress backend. There should be now one new theme called . Find it and just click Activate (if theme was uploaded via FTP)
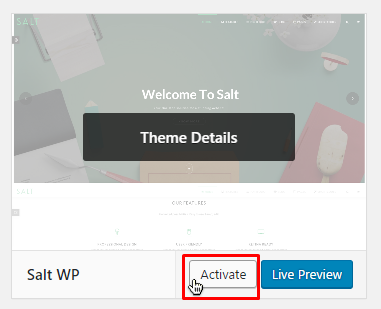
Or click Activate right after theme was installed (if it was installed with Theme Uploader)
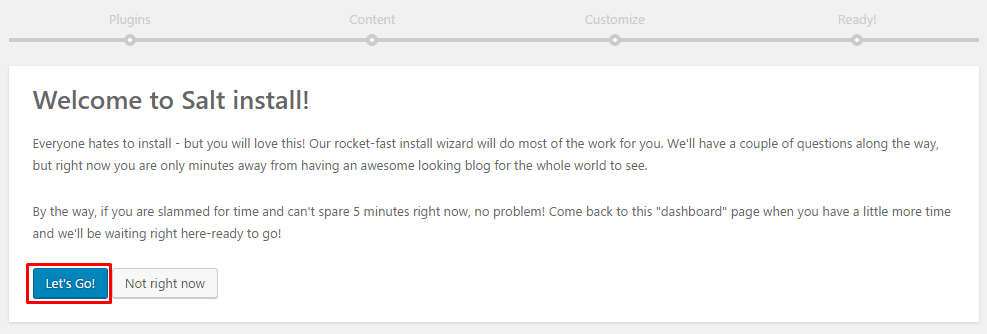
Setup Wizard
After theme activation you will see setup wizard - tool that will help you with installing theme required plugins and importing demo content.
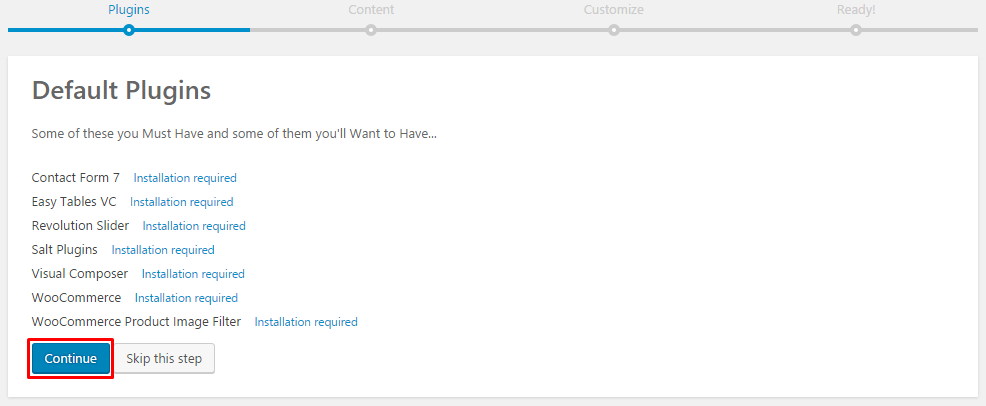
Installing theme required plugins
Demo Content
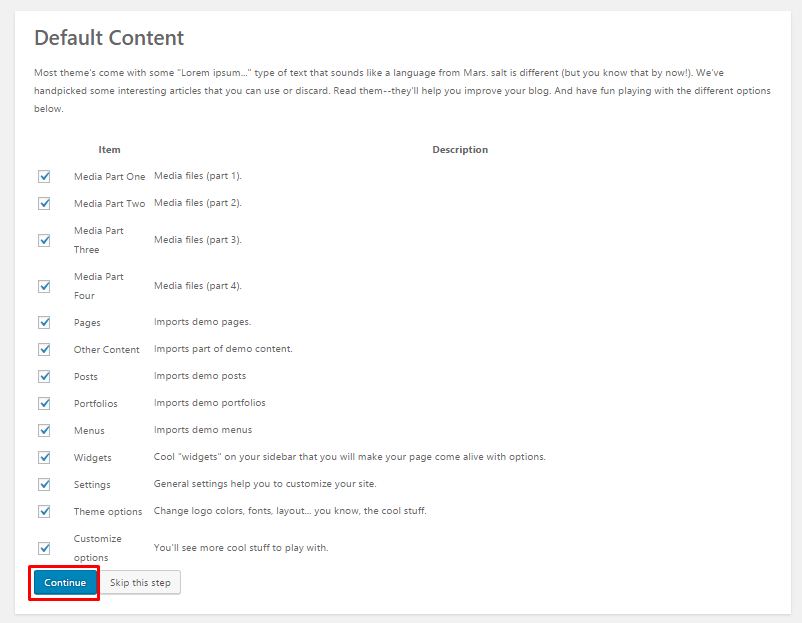
Please, be patient. Import process can take up to to 20 minutes.
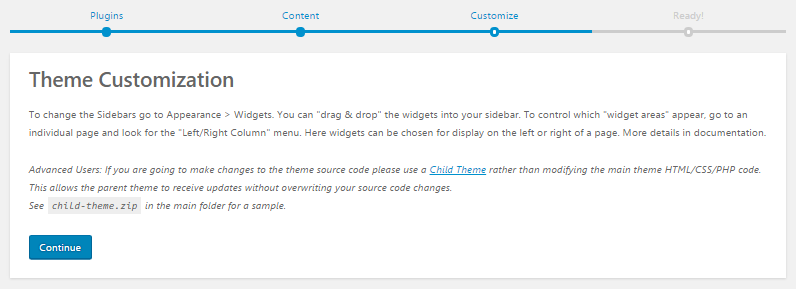
Theme Customization.
Here you will see suggestion to use child theme for any theme customization. Using it you will save all your changes, even if main theme will be updated.
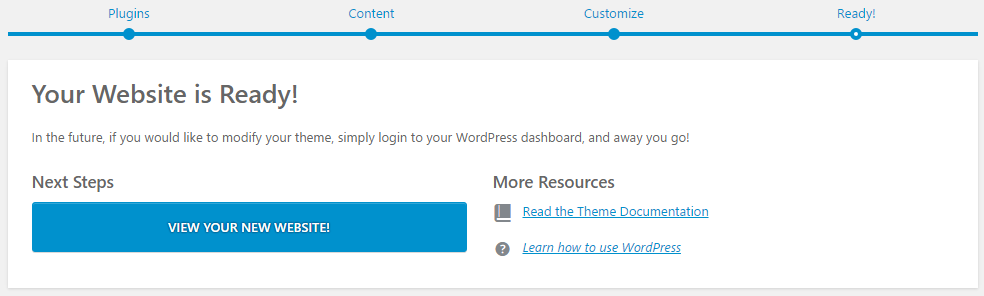
Website is Ready!
That's all. In a few minutes your all plugins were installed, demo data imported and website looks now same as on demo!
Slider Revolution demo slides.
If you want to use demo slides, go Slider Revolution -> Import Slider and upload one of the demo slides. You can find them in Demo Slider Revolution folder, it is included in .zip package you've downloaded from ThemeForest.

Child Theme
A WordPress child theme takes the functionality of another theme, named parent theme. It gives you the possibility to customize an existing theme. Instead of modifying the theme files directly, you can activate the child theme and work within it. All customizations are stored in the child theme and anything in the child takes priority over the parent. So if the same file exist in both child and parent, the file from the child will control that aspect of the theme.
Working with child themes, your customizations are safeguarded from future upgrades because you only upgrade the parent theme, which you never edit, while the customizations are protected in your child theme which you don’t upgrade.
Why use a Child theme?
Safe Updates. You can easily modify your website using child themes without ever changing the parent theme. When a new version of the parent theme appears, you can safely update it as all your modifications are saved in the child theme.
Easy to Extend. A child theme has a great flexibility. It does not require writing a lot of code. You can modify only those template files and functions that you need.
Modifying files from the Parent theme folder
While you should never edit files in your Parent theme, if you really must, the safest way to do it is to download a copy of the file you want to modify on your computer, make the changes, and then upload it into your child theme folder.
This way of modifying the files can be used for any files from the parent theme — note that you must re-create the same folder structure in your child theme that exist in the parent theme in order for the modifications to take effect.
Update
There are two ways to update Salt theme: via FTP or in WordPress dashboard.
Update via FTP:
- Go to Themeforest site, open Downloads section.
- See in the list Salt - Multi-purpose WordPress Theme, click on the Download button, from dropdown select Installable WordPress file only
- Login via your favorite FTP client to your hosting. Navigate to your site location and then find the folder wp-content/themes/
- Find the old theme saltwp, and rename it to something like salt_old
- Unzip downloaded file from Themeforest
- Upload that folder to remote location wp-content/themes/ via FTP
Update via WordPress dashboard:
- Go to Themeforest site, open Downloads section.
- See in the list Salt - Multi-purpose WordPress Theme, click on the Download button, from dropdown select Installable WordPress file only
- Upload, install and activate latest version.
- After theme will be activated, setup wizard will run. Tap "Lets' Go".
- Next step is updating theme required plugins. Click "Continue" and wizard will update plugin(s).
- After updating required plugin(s), skip Default Content and Theme Customization step.
Updating premium plugins.
Premium plugin are not trial, they are full versions that you can use as long as you want.
We have agreement and permission from plugins' authors to provide these plugins with theme for free.
So if you will see notification meesage like "Hi! Would you like to activate your version of Revolution Slider to receive live updates & get premium support?" - ignore this message or, if you want direct support and updates from plugin's author - you can purchase this plugin.
All premium plugins are updated with theme update. So, if you will see that there is a new plugin version, please, be patient and wait for next theme update.
Translation
Salt is translation-ready theme. We will show you how to translate our theme.
There are three file types and they contain:
- .pot: This file is a “portable object template” that contains all of the text to be translated. It doesn’t contain the translations themselves.
- .po: The “portable object” file contains the original text and the translations. It’s the file we’re about to show you how to edit.
- .mo: This is the “machine object file.” When your translation is complete, you will convert or export your .po file to this file type so that WordPress can use it.
Poedit
There are a lot of translation editors. The most popular is Poedit. It is very easy to use and we will show you how theme could be translated.
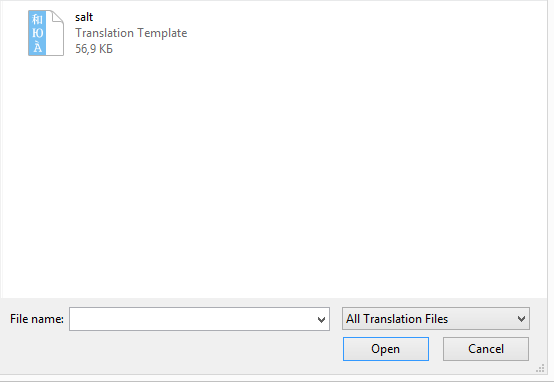
Open .pot file with Poedit
Click the “Create new translation" in Poedit and browse .pot file for our theme. You should be able to find it in the folder titled “languages” in the theme folder.
![]()
Select language.
Poedit saves your translation according to the language and an associated country (for localization).
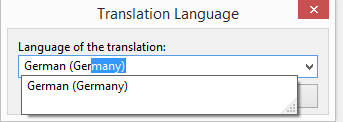
The resulting .po file will be titled according to abbreviations for the language and associated country. In our case, we’re using German, so our file will be de_DE.po.
Poedit creates these extensions automatically, but here’s a list of country and language codes
Translate theme words you need.
The .pot file has already compiled everything you need to translate. Here you can see how this text lines look:
![]()
Save .po and .mo files.
When you save your new .po file from Poedit, the application automatically generates an additional .mo file and saves it in the same directory on your hard drive.
After saving the files to your hard drive, add a the saltwp prefix to them, so for example
de_DE.po becomes saltwp-de_DE.po
de_DE.mo becomes saltwp-de_DE.mo
After renaming the files, use an FTP client to upload both files to the wp-content/languages/themes folder in your theme’s directory. Now you just have to tell WordPress to use the translation you created.
Theme options
In "Theme Options" you are able to change main theme settings for Header, Footer, Shop, Portfolios, Blog, etc..
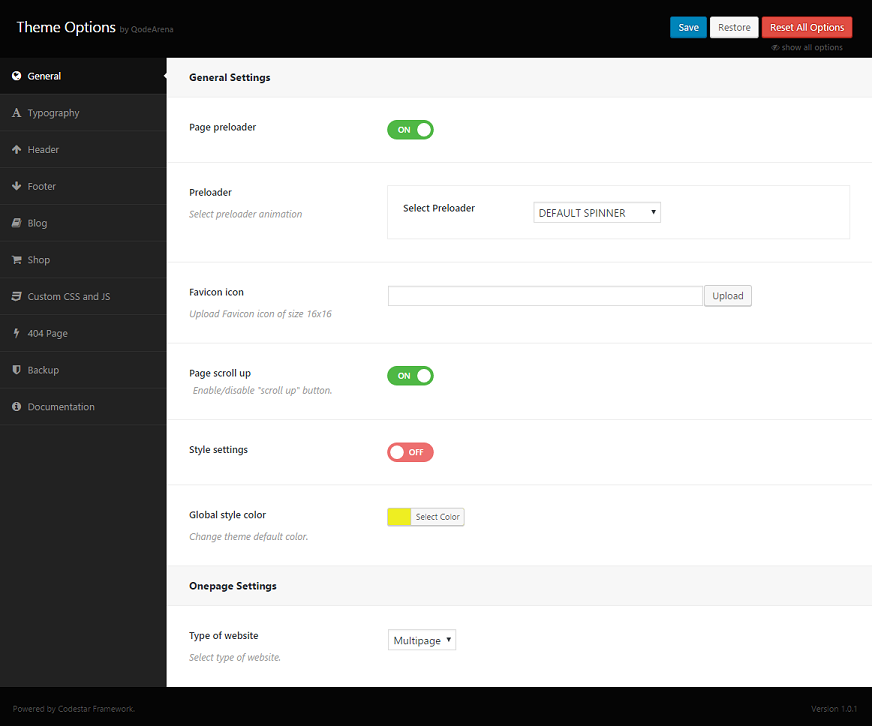
General options
Here you can change general settings - preloader animation, change theme color, etc.
- Page preloader - enable/disable page preloader.
- Preloader - if preloader enable, select preloader animation you like.
- Favicon icon - upload browser favicon icon.
- Page scroll up - enable/disable "scroll to top" button.
- Style settings - enable/disable color switcher in frontend.
- Global style color - change default theme color.
- Type of website - switch between one- or multi-page mode.
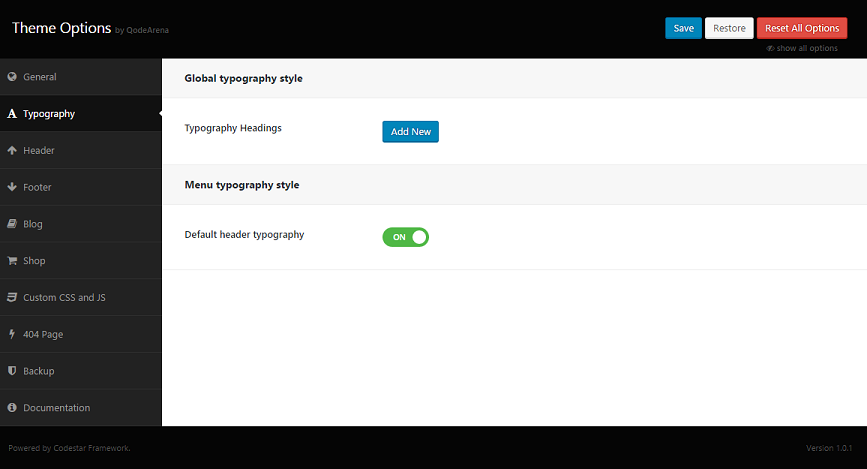
Typography
Here you can change theme fonts.
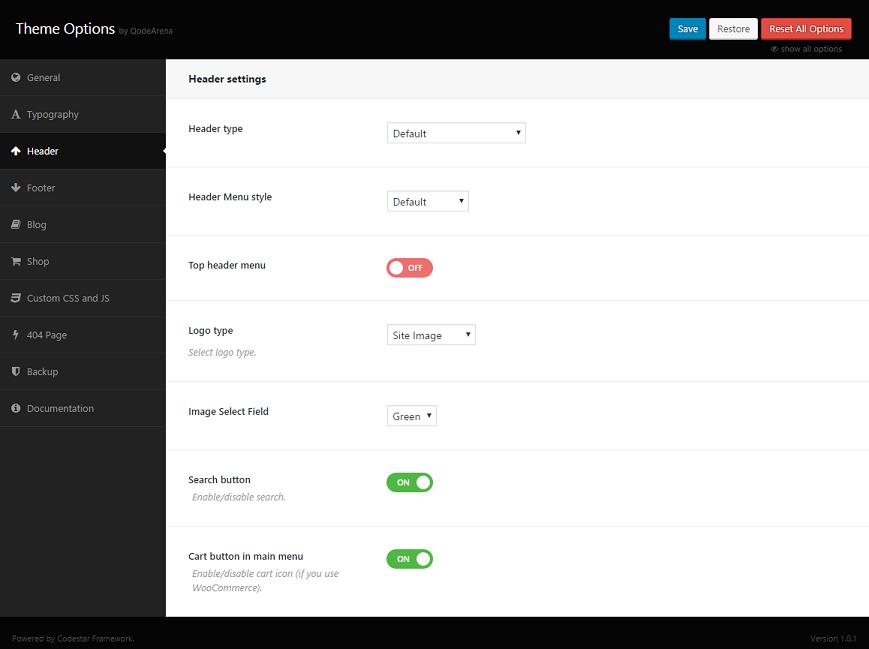
Header
Here you can change header settings.
- Header type - select from dropdown menu header type.
- Header Menu type - select header menu style.
- Logo type - select logo type.
- Image Select Field - change selection color.
- Search button - enable/disable search button.
- Cart button in main menu - enable/disable car icon in menu.
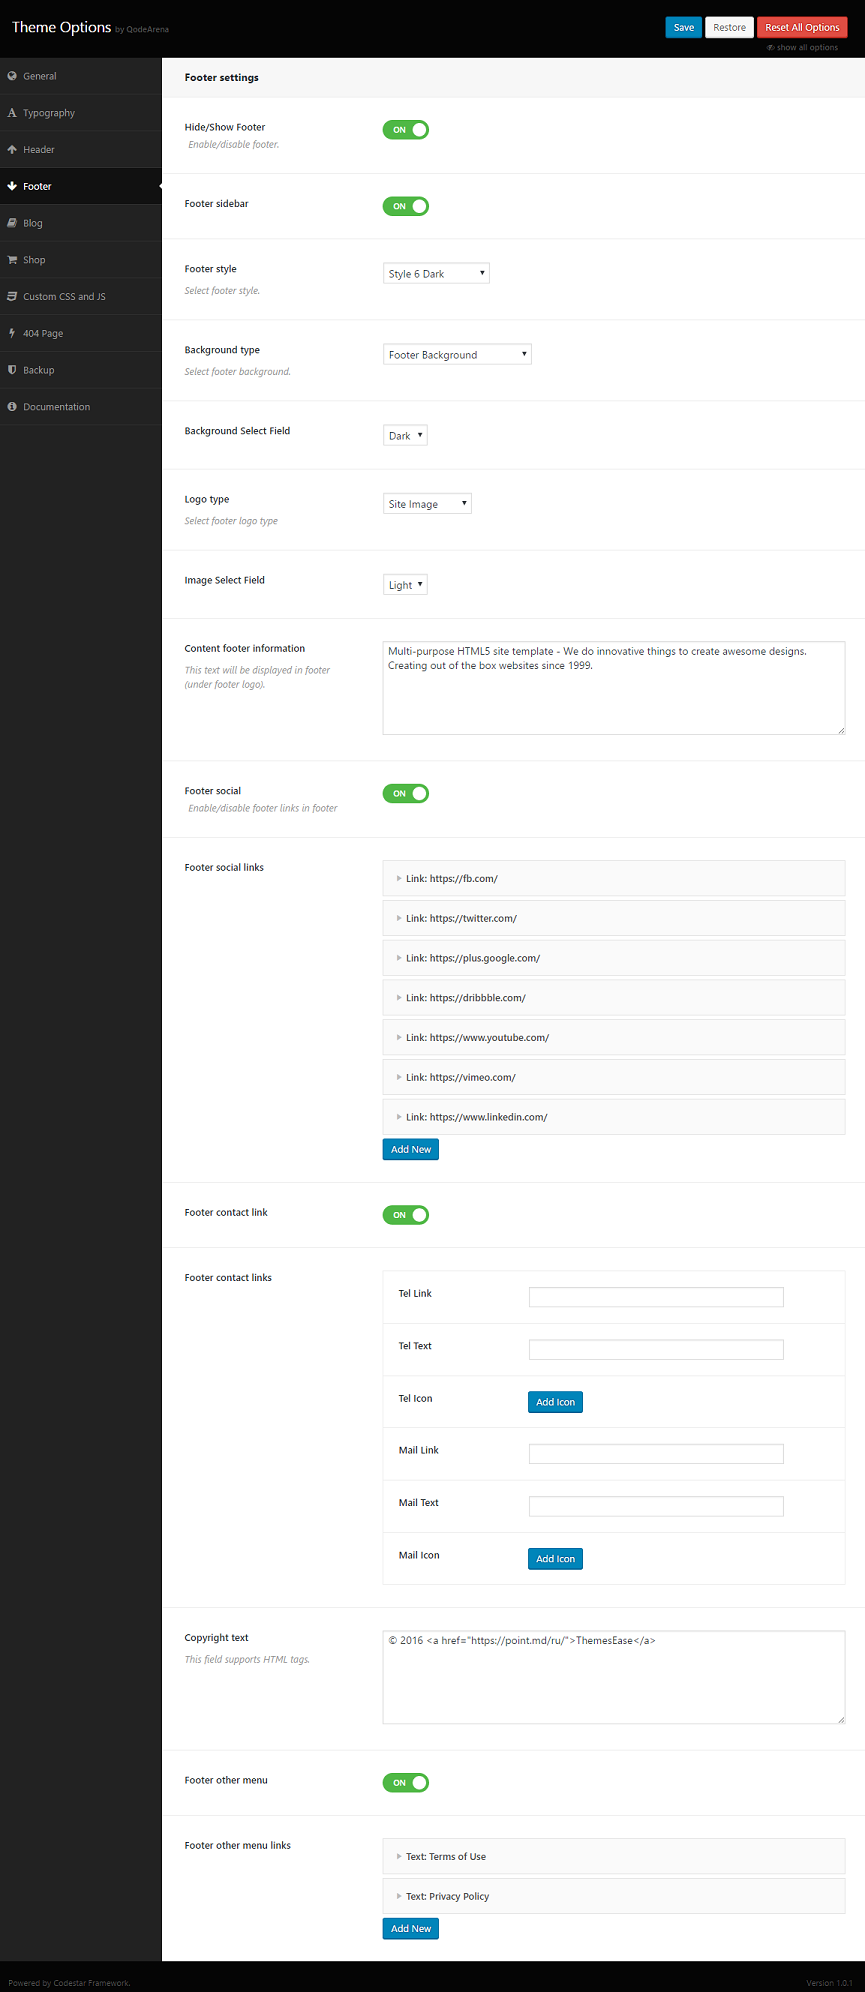
Footer
Customize footer settings.
- Hide/Show Footer - enable/disable footer on website.
- Footer sidebar - enable/disable footer sidebar.
- Footer style - select footer style.
- Background image - select between default or custom background image.
- Background Select Field - select background select style.
- Logo type - select footer logo type.
- Image Select Field - select image select style.
- Content footer information - enter footer text here.
- Footer social - enable/disable footer social links.
- Footer contact link - enable/disable footer contact link.
- Footer contact links - enter contact link information.
- Copyright text - type copyright text here.
- Footer other menu - enable/disable menu in copyright section (right to copyright section).
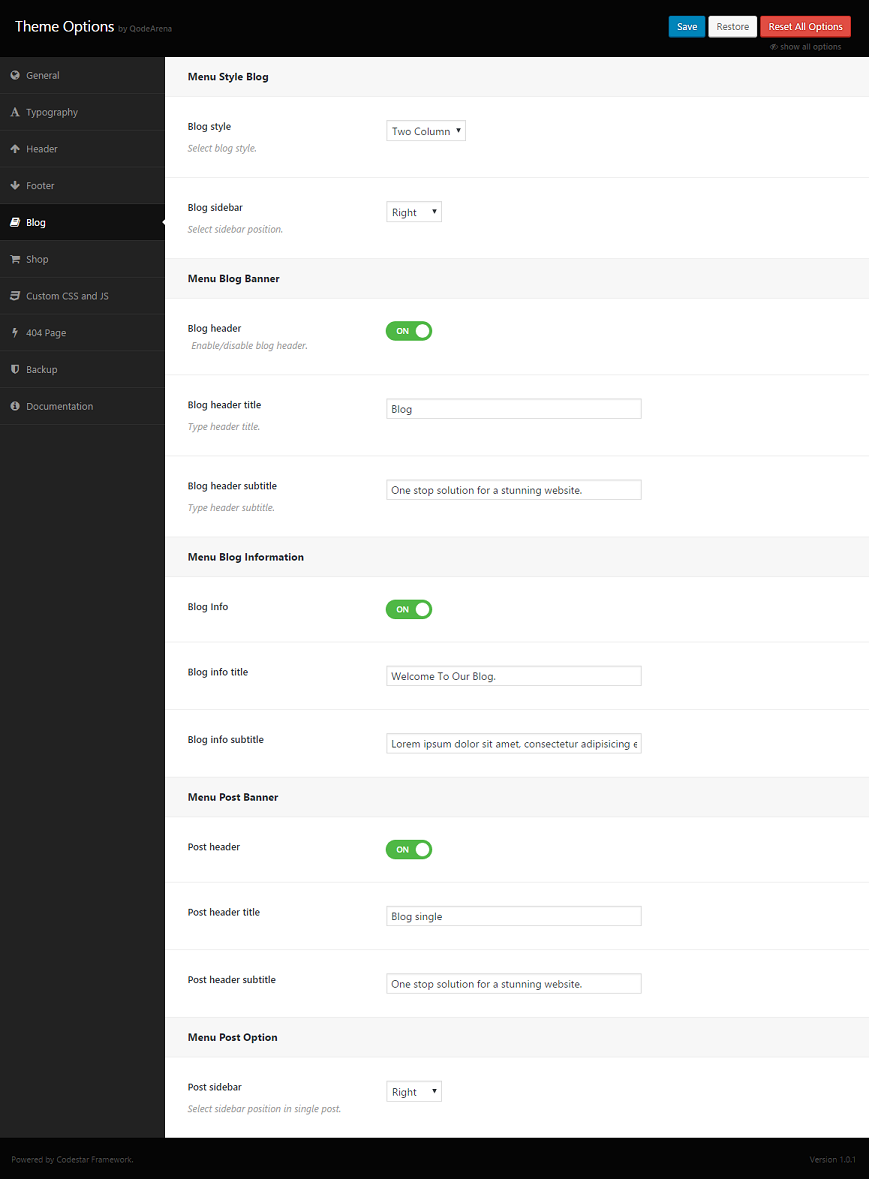
Blog
All settings for blog you cna find in this section.
- Blog style - select blog style.
- Blog sidebar - select blog sidebar position.
- Blog header - enable/disable blog header.
- Blog Info - enable/disable blog info section.
- Post header - enable/disable post header.
- Post sidebar - select sidebar position in post.
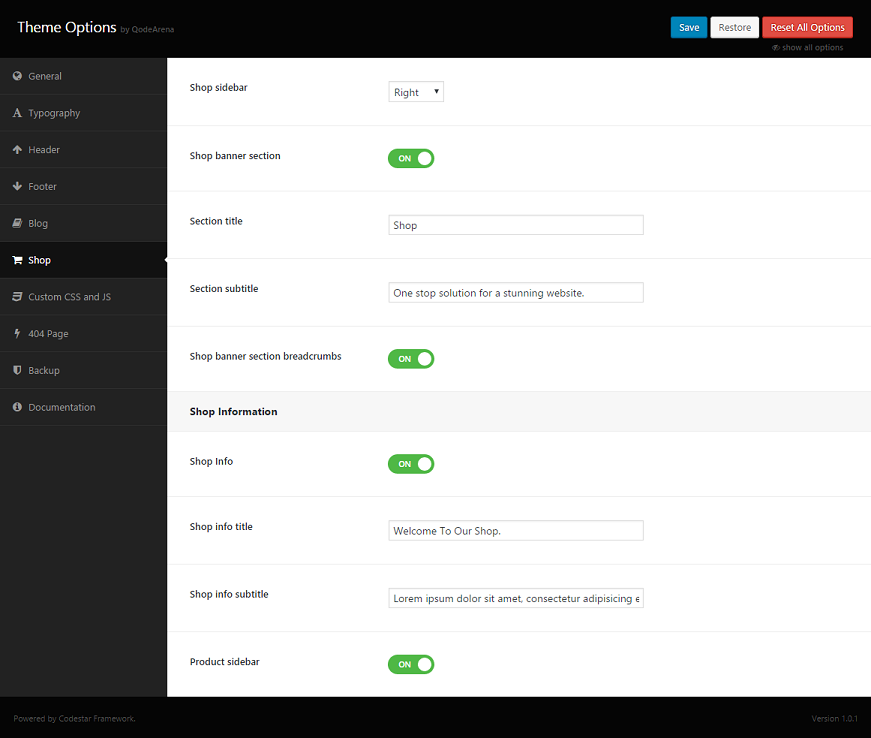
Shop
Customize shop settings.
- Shop sidebar - select sidebar position for shop page.
- Shop banner section - enable/disable banner section.
- Section title - enter section title.
- Section subtitle - enter section subtitle.
- Shop banner section breadcrumbs - enable/disable breadcrumbs.
- Shop Info - enable/disable info section.
- Product sidebar - enable/disable sidebar for product page.
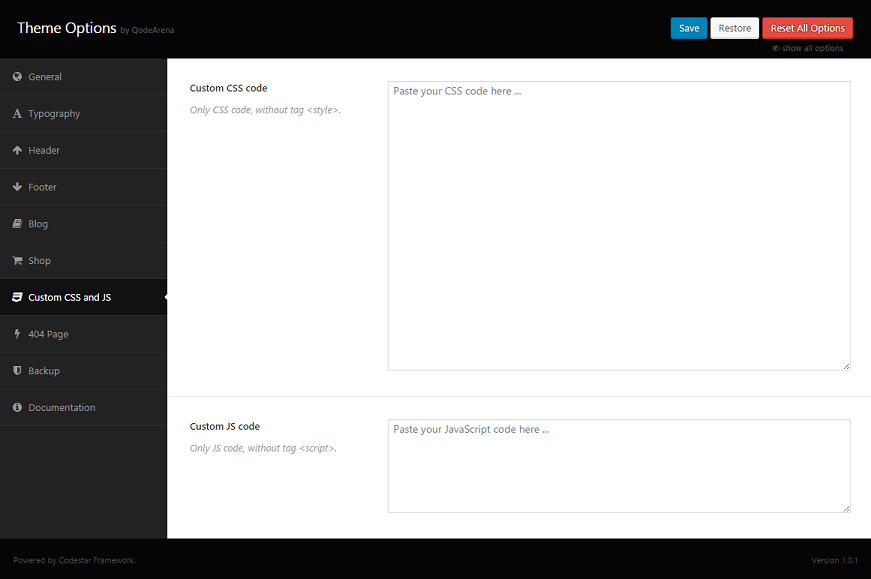
Custom CSS&JS
Here you can add custom CSS and JavaScript code.
- Custom CSS code - add your custom CSS code in this field.
- Custom JS code - add your custom JavaScript code here.
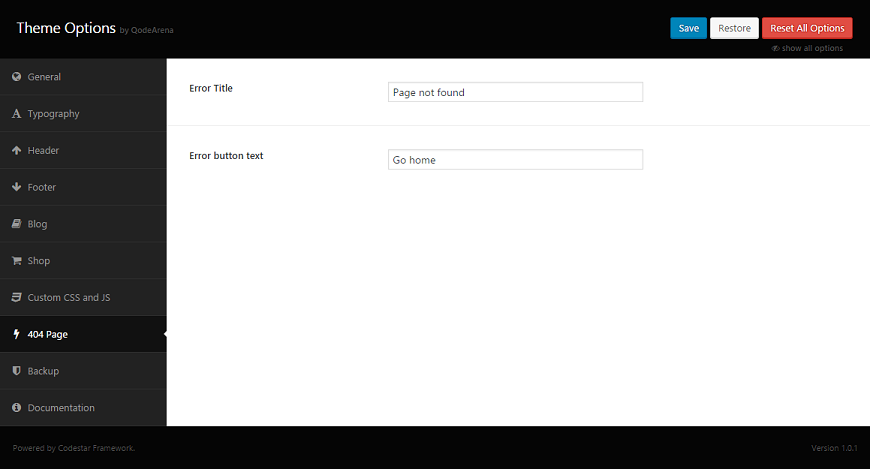
404 page
Customize 404 page layout.
- Error title - type error message here.
- Error button text - add button text. This button links to Front page.
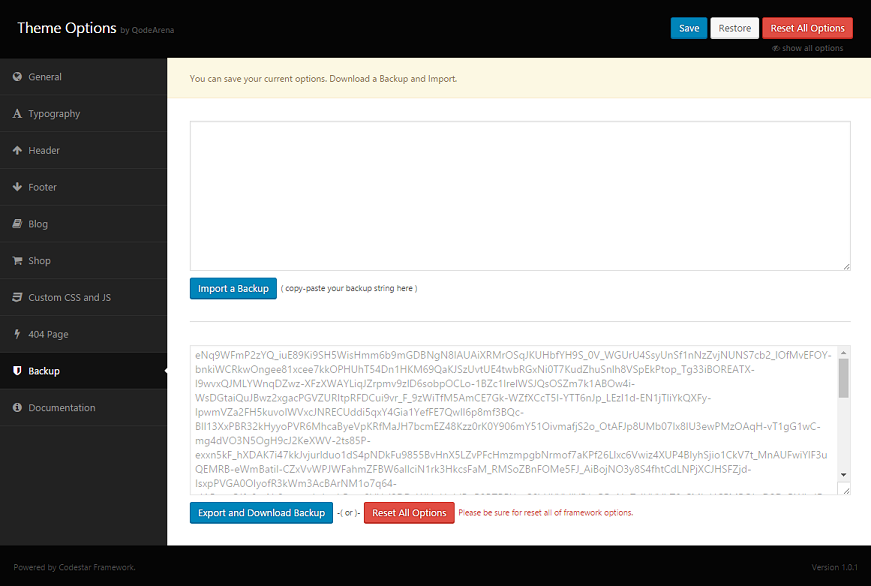
Backup
Import/Export backup for theme options.
WooCommerce
Server Requirements
Here are the minimum server requirements in order for the WooCommerce plugin to work:
- PHP 5.3.0 or greater
- MySQL 5.0 or greater
- The mod_rewrite Apache module (for permalinks)
- fsockopen support (for payment gateway IPN access)
- (optional) An SSL certificate if you choose to install any direct payment gateways
- (optional) Some plugins for WooCommerce require CURL
- (optional) Some plugins for WooCommerce require SOAP
Getting started with WooCommerce
In order to start creating your online shop, you'll need to understand how WooCommerce works, create products, make different settings regarding payments and shipping and more.
The guys behind the plugin created an extensive documentation covering all you need to know that can be found online on their website: WooCommerce Documentation.
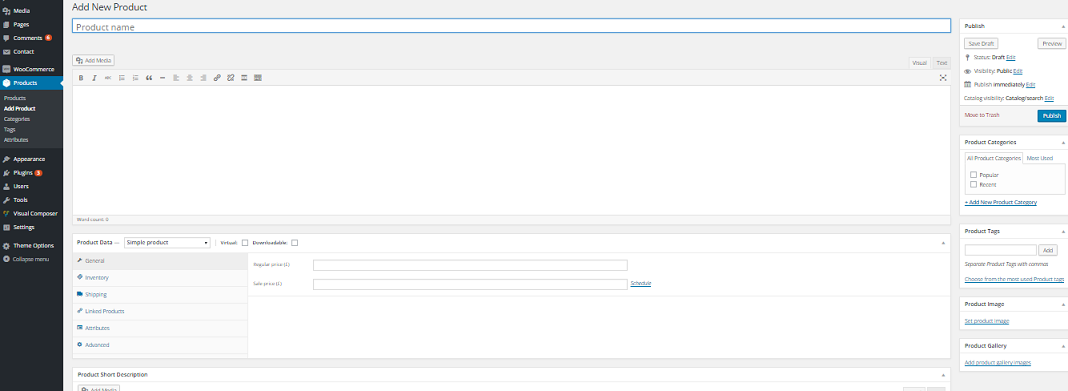
Products
There is a video tutorial corresponding to this section of the documentation - Creating and editing Product
Edit or add new products to your website:
- Open Product tab in WordPress Admin Panel
- Click Add Product
- Add Product Name
- Add product description (if you neeed)
- Add product features in different tabs
- Add Product short description
- Select Product category or categories
- Add Product tags
- Select Featured Image
- Create Product Gallery
- Click Publish
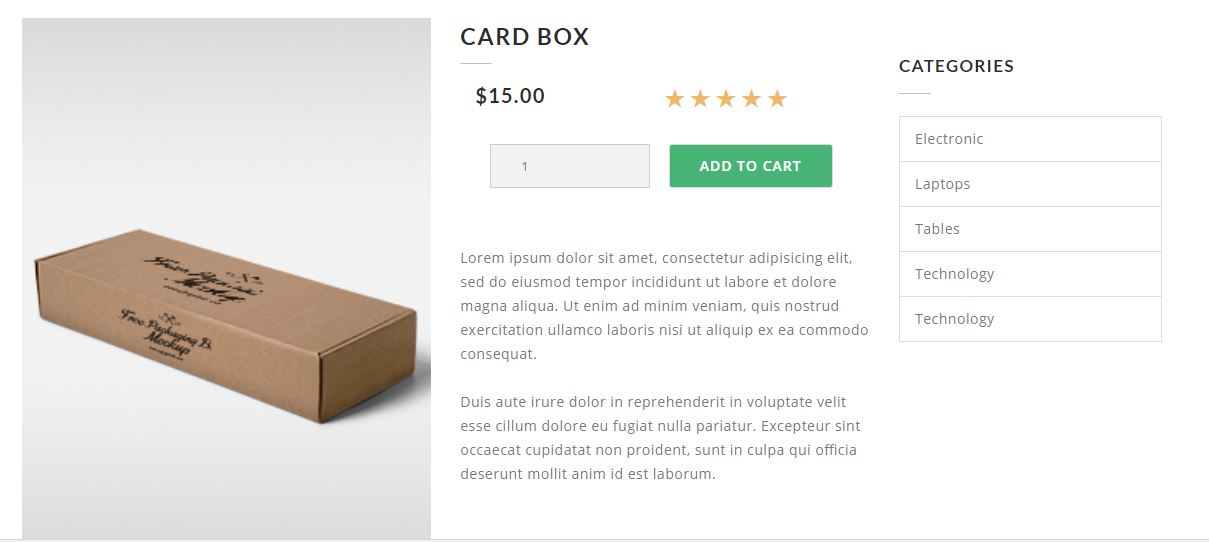
This is how it looks on the page:
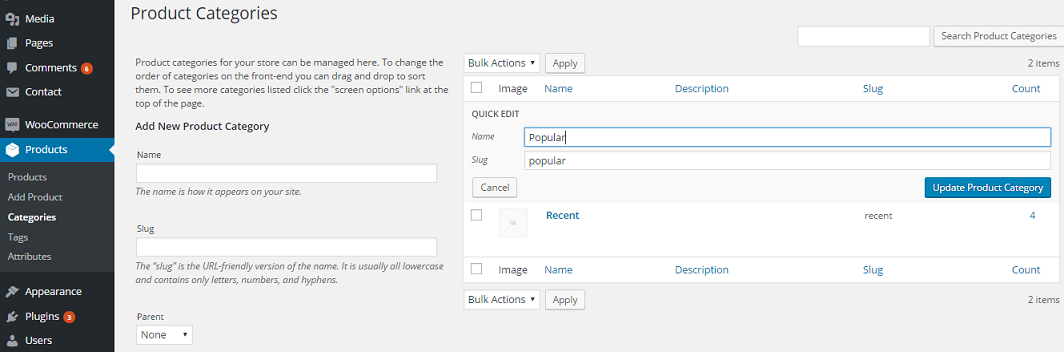
Categories
You have an opportunity to add or edit product categories. If you need to edit category, you have to follow:
- Open Product tab in WordPress Admin Panel
- Click Categories
- Hover the category and click Edit or Quick Edit
- Edit the category
- Click Update
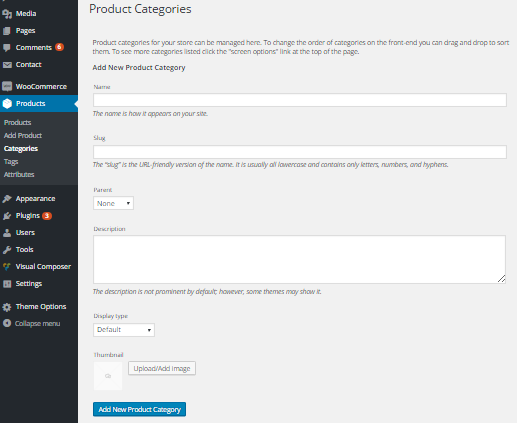
To add new category:
- Open Product tab in WordPress Admin Panel
- Click Categories
- Add Name of category
- Add Slug
- Select Parent (if need)
- Add category Description
- Select Display type
- Upload image for Thumbnail
- Click Add new Product Category
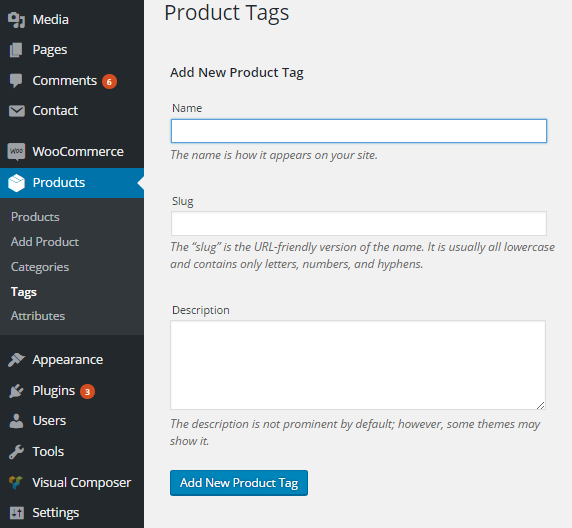
Product Tag
Add new product tag:
- Open Product tab in WordPress Admin Panel
- Click Tags
- Add Name of tag
- Add Slug
- Add new tag Description
- Click Add new Product Tag